Showing posts with label projects. Show all posts

Wednesday, March 29, 2017

Redesigned Chalkboard and Whiteboard Combo

I have been trying to get better at posting at least once a month to this blog and this month I want to show you this update I recently finished to A's chalkboard and whiteboard that we found for nothing at a DI bin. Score one for the parents!!!

Sadly, this piece of artsy history had seen better days and since I knew I wanted it to last another few years for both A and E, When trying to decided on what color to paint it, I figured something bright and spunky would be the way to go (A thinks it looks like a Ninja Turtle and E is too young to care). Here are the before shots:


As you can see, it was in dire need of a revival. The first thing I did was clean all the wood surfaces and remove both the chalkboard and white board. It didn't really need any sanding, some with everything disassembled, it was time for paint! Here it is with just the frame painted:


I went with a black base where the chalk and paints and other art supplies would go because I figured it would be the easiest to clean up and would show the least amount of spills :) For the white board, it was really just a matter of putting some cleaning product on it and scrubbing until the baked on marker streaks were gone. On the chalkboard, I put on a fresh coat of chalkboard paint and then followed the rules for re-chalking (is that a word?): wipe down the surface and using the side of a chalk, rub it all over the surface. After letting it sit dry, I put a magnetic sticker in the middle for my kids to put magnets on since I white board wasn't magnetic. Here is the completed project:


I think all-in-all it turned out great and it has definitely seen some use in the limited time that we have had it... A loves to use it for painting projects :) Tell what you think in the comments and remember: even you can fake creativity!

Monday, February 6, 2017

Valentine's Day Handprint Art

With Valentine's Day coming up next week, I thought I would share this quick and easy craft inspired by this pin that I have had saved and finally got around to trying.


The recipe was easy, but it was definitely a little time consuming, mostly because you are trying to wrangle your (insert appropriate noun here: infant, toddler, etc.) child into putting their palm flat and still so that you can get the best imprint. Here is a picture of my little, so excited to make her first handprint art!

After following the recipe listed above in the pin, we transferred the dough onto aluminum foil in preparation for cooking in the oven. Then after numerous times of trying to get her to keep her hand still, we finally got it ready to go!


We originally were going to paint just the hand part, but in the end decided to do the whole thing in red. On the back we wrote her name and date with a quick "I Love You" and gave them to the grandparents as gifts.

The Verdict: Easy recipe which allowed for us to make more in case there wasn't enough to cover her hand; easily moldable which allowed for multiple re-tries; baked well and came out with a clean, overall look. I would definitely recommend trying this one at home with your little ones :)

Thursday, February 11, 2016

Updated Metal Chairs

So I know it's February, but here in Southern California it feels more like June right now. It's been in the high 80s/low 90s for the past few days and I have been taking advantage of it! A few months ago, I showed y'all how I updated an old rusty metal table we had lying around... well, there are actually chairs that go with it :) With all this beautiful sunny weather, why not finish off the set and enjoy the view?


The chairs were in great condition to begin with, but they were painted the same sky blue as the table was originally and they were just chipped and showing some neglect. Here are some before shots:


Originally I was going to paint them all the same color as the table, but then my Hubby gave me the great idea to go all dual-color on them. I decided to do these colors:


I know it seems weird to put black on a metal chair (hot tush anyone?) but for the past few days they haven't actually gotten all that hot...even when sitting in the sun all day. So the first thing I did was spray paint the section of the chairs black first. Here is what they looked like after they were coated a few times:


Next, I covered the areas most prone to getting color mixture with painter's tape (a little time-consuming and tedious, but easier in the long run) and then began covering them with the second color of choice:


I ended up getting a little bit of paint outside the lines, but overall they turned out great! I am really loving the two-toned look of them and might end up do the table they same way down the line (maybe black legs?) What projects have you taken on lately? Thank for stopping by!


Friday, January 29, 2016

Spray-painted Acorns

Awhile back I was trolling one of my friend's blogs and she put up a post on creative ideas for Autumn decorating and this one caught my eye. It is her Mercury-Glass Acorns and they were so cute and easy to do, that I just had to try them!


Every year my husband's family goes apple picking and when we went this past year (I keep forgetting it's 2016!), I went with a purpose: I was going to get me some authentic acorns right from the source! I sort of stuck to that idea... I actually picked most of them off the ground, but they were in excellent condition and I managed to get a whole paper bag's worth :) When I got home, I had to sort out the good from the bad (cracked, holes, etc.) and then decide how many I was going to want to have. I settled on spray-painting some and leaving the natural color on others; I also used two colors of silver: a shiny one and a regular matte gray color. Here's how they turned out:

Before
Matte Gray
Silver
In the end, I used both in small glass vases with tea lights and placed them around the house for ambiance. Thanks for the idea Justine :)

Thursday, September 10, 2015

Adirondack chair for my Little A

So like most of your lives, mine has gotten pretty busy over the past few weeks. I started this project probably about two months ago and actually finished it last month, but it has taken me awhile to get the pictures together so that I can show you everything that I did.

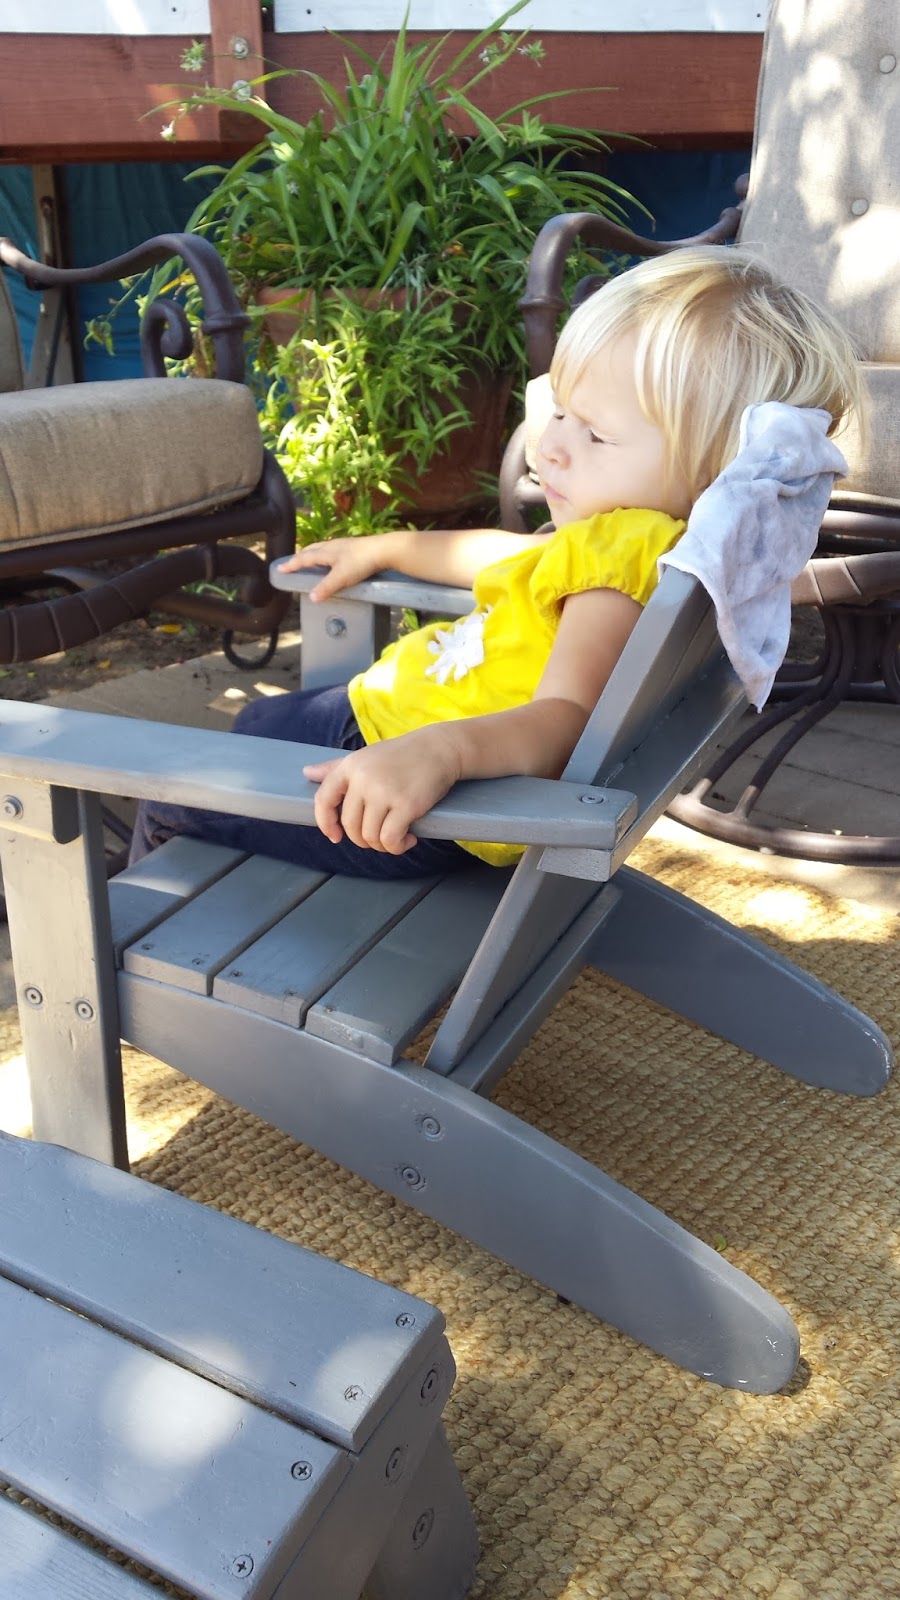
My sister actually found this Adirondack chair set that someone was discarding and totally scooped it up... she knew that it would be a perfect fit for my little A (thanks sis!). Here are some before shots:


For the most part, the wood was in great condition and there weren't any missing pieces or anything like that :) I did have to tighten down some bolts because it was a bit wobbly, but all in all, a great find! Here is what it looked like after using a power sander (and a paint stripper!!!) to remove the faded white paint:


After a few hours of elbow work to get off as much paint as possible and to make the whole set nice and smooth, it was finallly ready for a new coat of... what else?... spray paint!!! You guys probably think I have a whole room full of the stuff, but in reality it is just a small tub :) This time around though, I went out and bought (gasp!) two cans of gray paint because I knew I didn't have enough on hand to get the job done. This was my inspiration for the color:


This piece of granite tile was left over from a project that my parents did in their house and it just so  happen to be the perfect size for the side table that came in the set :) It was a good thing that I bought two cans, because that wood absorbed a lot of it and I was down to fumes in both cans to cover all three pieces of furniture. In the end though, it turned out marvelous! After shots:


Even though I put the tile on top, I did end up spray painting the entire top of the table just in case. I also coated the bottom of all the pieces (that's where the spray paint fumes went) so that from any angle, none of that ugly white would show through. Remember, there is nothing better than free stuff and a little spray paint :)

Monday, August 17, 2015

Candlestick Holders Revived

Good Morning All! This project is from a couple days ago when I was on a total roll with all my DIY projects. Remember how I said that my amazing husband had rescued several things from his grandmother's trash haul a few weeks back? I got the wooden crate, the metal tub, and these:

Before Scrub

After Scrub
These candlestick holders were in really good shape, but had lots of cobwebs and junk inside of them and were in need of a desperate wash and scrub. Thankfully there wasn't any rust on them (another good thing about no rain in CA) and they just needed a new color to call their own :)


Yay for my trusty spray paint collection! I decided to go with the same silver that I used on the hardware for my sister's jewelry box because I really wanted them to stand out. Even halfway done, they already look amazing! Here is the complete before and after:

Before

After
Always amazing what a coat (or two...or three...) of spray paint will do! Since I wasn't sure where I was going to use them at (not much needed in 90 degree heat) I have placed them in front of the house for a pop of color until they are required. I am seeing them get a lot of use this fall :) For now, they hold a pretty candle that smells like Caribbean Sunset or something summery like that... Bye for now!!!


The Final Reveal

Sunday, August 9, 2015

Updated Metal Tub

Hey everyone! This is just a short quick post showing how I updated a metal tub (salvaged from my Nana-in-law's junk pile) and with a few coats of spray paint, transformed it into a semi-new bucket:)


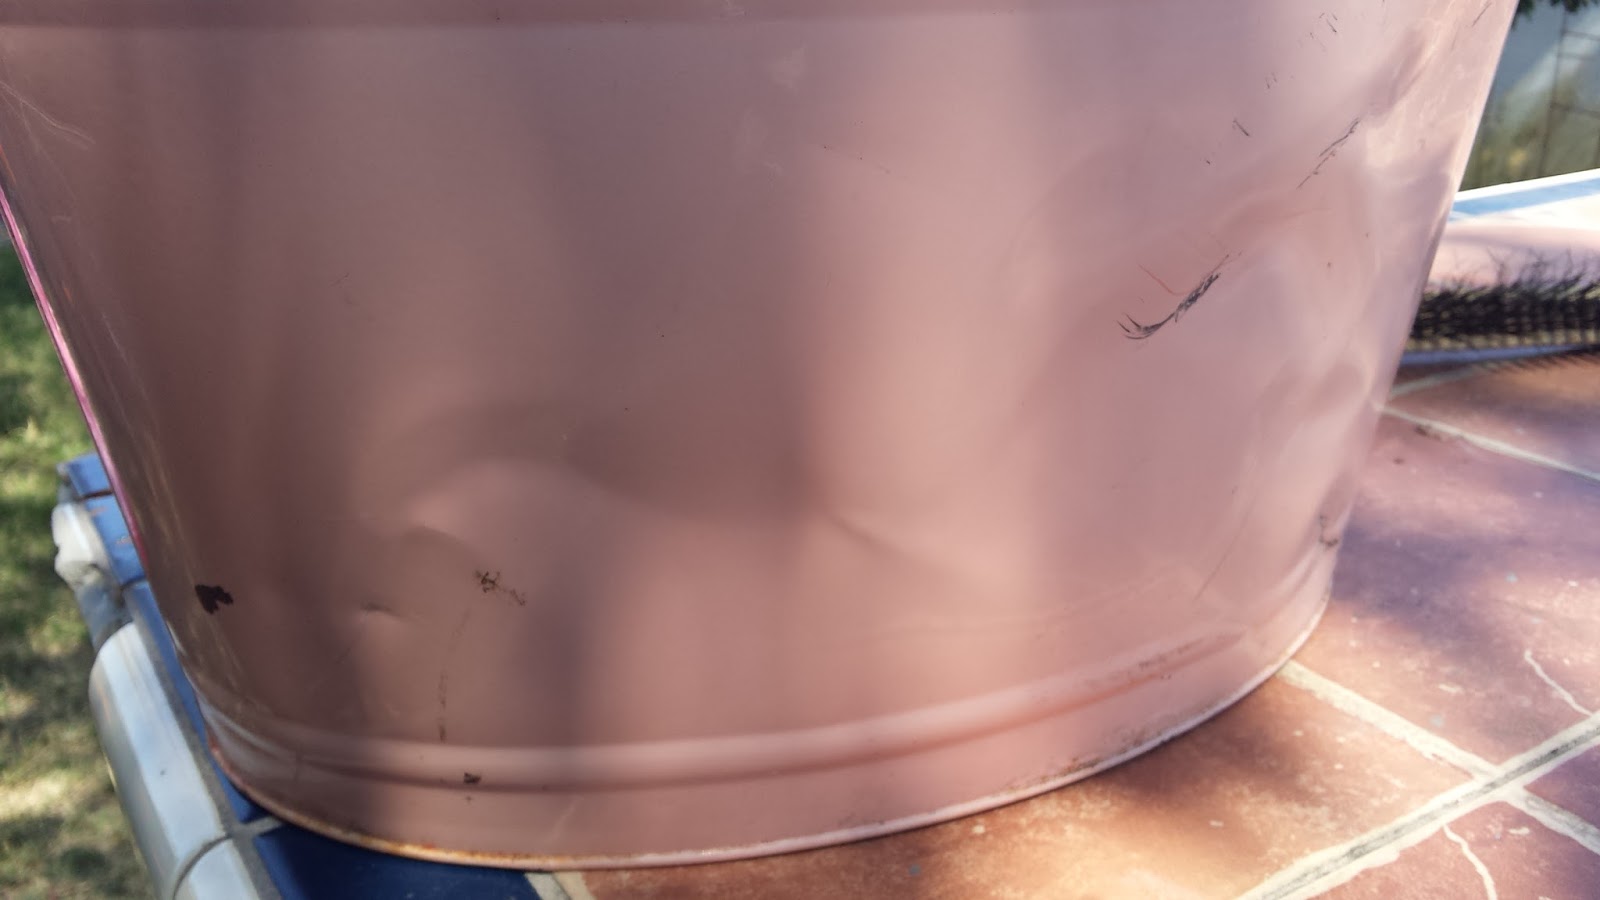
My husband rescued this bucket for me knowing that it was something I would love to re-do... he was totally right! Obviously the pink would have to go and there were some rust issues and dents that would have to be addressed, but nothing I wasn't up for :) My little wanted to use the mallet, so all credit for getting out the dents (or most of them) go to her. After (once again) raiding my supply of spray paint, I decided on a two-toned look for this tub. I took a couple of coats on both the inside and the outside, but in all it turned out really nice!


I didn't bother with taping the edges of anything and even though you can't see it, there is some gray spray paint freckles on the blue, but it is so discreet that it almost looks like a shimmer in the blue color:) Thank goodness for that! Right now, this holds supplies and such in the back of my car, but I might have other uses for it in the future. Bye for now!!!