A few weeks ago was my little sister's birthday and though she didn't
technically ask for this for her birthday, I knew that she was in desperate need of it. She needed a jewelry box... and not just any jewelry box. She needed a grown-up version that could hold it's own on her makeup table and could replace the sad, pathetic version that she is currently using. Basically she had a little box that she got when she was about 12 years old and has long since out-lived it's usefulness and design. In comes this:
I found this gorgeous beast at our local swap meet a few months ago and knew that it would be perfect for her! I got this thing for only $5 so I was pretty stoked to get to work on it.
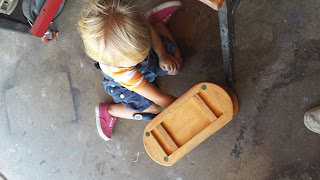
It was in decent shape; it was only missing two screws on the back hinge and needed a good dusting inside all the boxes, but thankfully all the velvet was in perfect condition and there were no serious dents or anything. My little insisted on helping with Auntie's present :) I started by removing all the hardware and it was going smoothly too, until the very last one snapped! Thankfully, this one belonged as a faux drawer pull and after a little super-glue, was right as rain. Then I took some sand paper and roughed up the lacquer a bit.
 |
| Before sanding |
 |
| After sanding |
I knew right off the bat that I wasn't keeping the color and I didn't want to stain it, so what to do? Spray paint of course! After sanding it, I got out my trusty box of spray paints, picked my color scheme and started taping. I had to go pick up a can of black (.
97 at Walmart) which thankfully covered the entire box even after a few extra coats. The taping was the most time consuming, because I didn't want any spray paint to get on the velvet lining of the drawers.
I ended up painting the hardware a nice silver color that I already had in my arsenal:
 |
| Oooo... Shiny :) |
Here is the finished product! I was so tempted to keep it for myself, but knew that my little sister was in dire need of it :)
 |
| WHAT?!?! |
 |
| Gorgeousness!!! |
It turned out way better than I thought it would! Here are some close-ups of the drawers and paint job:
I am really glad that all that taping wasn't a waste... nice clean lines around the velvet and the shiny silver hardware against the matte black looks so elegant. Doing this project totally boosted my DIY self-esteem through the roof and I find myself looking at things in a whole new light. What projects have you taken on lately? Here is a last look! (
My sis totally screamed when she saw it and still can't believe that I did this entire thing for only $6).
 |
| Happy Birthday Sis!!! |


No comments:
Post a Comment