Monday, August 24, 2015

Rice Krispie Treats

Happy Monday! I don't usually put posts up regarding food but I found this recipe in a magazine and thought I would give it a shot. Here is a picture of the recipe:


Idea

It was actually really simple and considering I am no good with cooking and such, I am definitely in love :) Here are some more pictures to show the process:

All the supplies

Adding the chocolate, butter and mini marshmallows

Almost melted all the way through
 After it was completely melted down, I added the rice krispies in and then really quickly, spooned it all into the pan. I put it in the fridge to make sure it set well and I didn't here any complaints, so I am going to assume it came out well :)

The finished product!!!

Monday, August 17, 2015

Candlestick Holders Revived

Good Morning All! This project is from a couple days ago when I was on a total roll with all my DIY projects. Remember how I said that my amazing husband had rescued several things from his grandmother's trash haul a few weeks back? I got the wooden crate, the metal tub, and these:

Before Scrub

After Scrub
These candlestick holders were in really good shape, but had lots of cobwebs and junk inside of them and were in need of a desperate wash and scrub. Thankfully there wasn't any rust on them (another good thing about no rain in CA) and they just needed a new color to call their own :)


Yay for my trusty spray paint collection! I decided to go with the same silver that I used on the hardware for my sister's jewelry box because I really wanted them to stand out. Even halfway done, they already look amazing! Here is the complete before and after:

Before

After
Always amazing what a coat (or two...or three...) of spray paint will do! Since I wasn't sure where I was going to use them at (not much needed in 90 degree heat) I have placed them in front of the house for a pop of color until they are required. I am seeing them get a lot of use this fall :) For now, they hold a pretty candle that smells like Caribbean Sunset or something summery like that... Bye for now!!!


The Final Reveal

Sunday, August 9, 2015

Updated Metal Tub

Hey everyone! This is just a short quick post showing how I updated a metal tub (salvaged from my Nana-in-law's junk pile) and with a few coats of spray paint, transformed it into a semi-new bucket:)


My husband rescued this bucket for me knowing that it was something I would love to re-do... he was totally right! Obviously the pink would have to go and there were some rust issues and dents that would have to be addressed, but nothing I wasn't up for :) My little wanted to use the mallet, so all credit for getting out the dents (or most of them) go to her. After (once again) raiding my supply of spray paint, I decided on a two-toned look for this tub. I took a couple of coats on both the inside and the outside, but in all it turned out really nice!


I didn't bother with taping the edges of anything and even though you can't see it, there is some gray spray paint freckles on the blue, but it is so discreet that it almost looks like a shimmer in the blue color:) Thank goodness for that! Right now, this holds supplies and such in the back of my car, but I might have other uses for it in the future. Bye for now!!!

Sunday, August 2, 2015

Jewelry Box Transformation

A few weeks ago was my little sister's birthday and though she didn't technically ask for this for her birthday, I knew that she was in desperate need of it. She needed a jewelry box... and not just any jewelry box. She needed a grown-up version that could hold it's own on her makeup table and could replace the sad, pathetic version that she is currently using. Basically she had a little box that she got when she was about 12 years old and has long since out-lived it's usefulness and design. In comes this:


I found this gorgeous beast at our local swap meet a few months ago and knew that it would be perfect for her! I got this thing for only $5 so I was pretty stoked to get to work on it.


It was in decent shape; it was only missing two screws on the back hinge and needed a good dusting inside all the boxes, but thankfully all the velvet was in perfect condition and there were no serious dents or anything. My little insisted on helping with Auntie's present :) I started by removing all the hardware and it was going smoothly too, until the very last one snapped! Thankfully, this one belonged as a faux drawer pull and after a little super-glue, was right as rain. Then I took some sand paper and roughed up the lacquer a bit.


Before sanding

After sanding
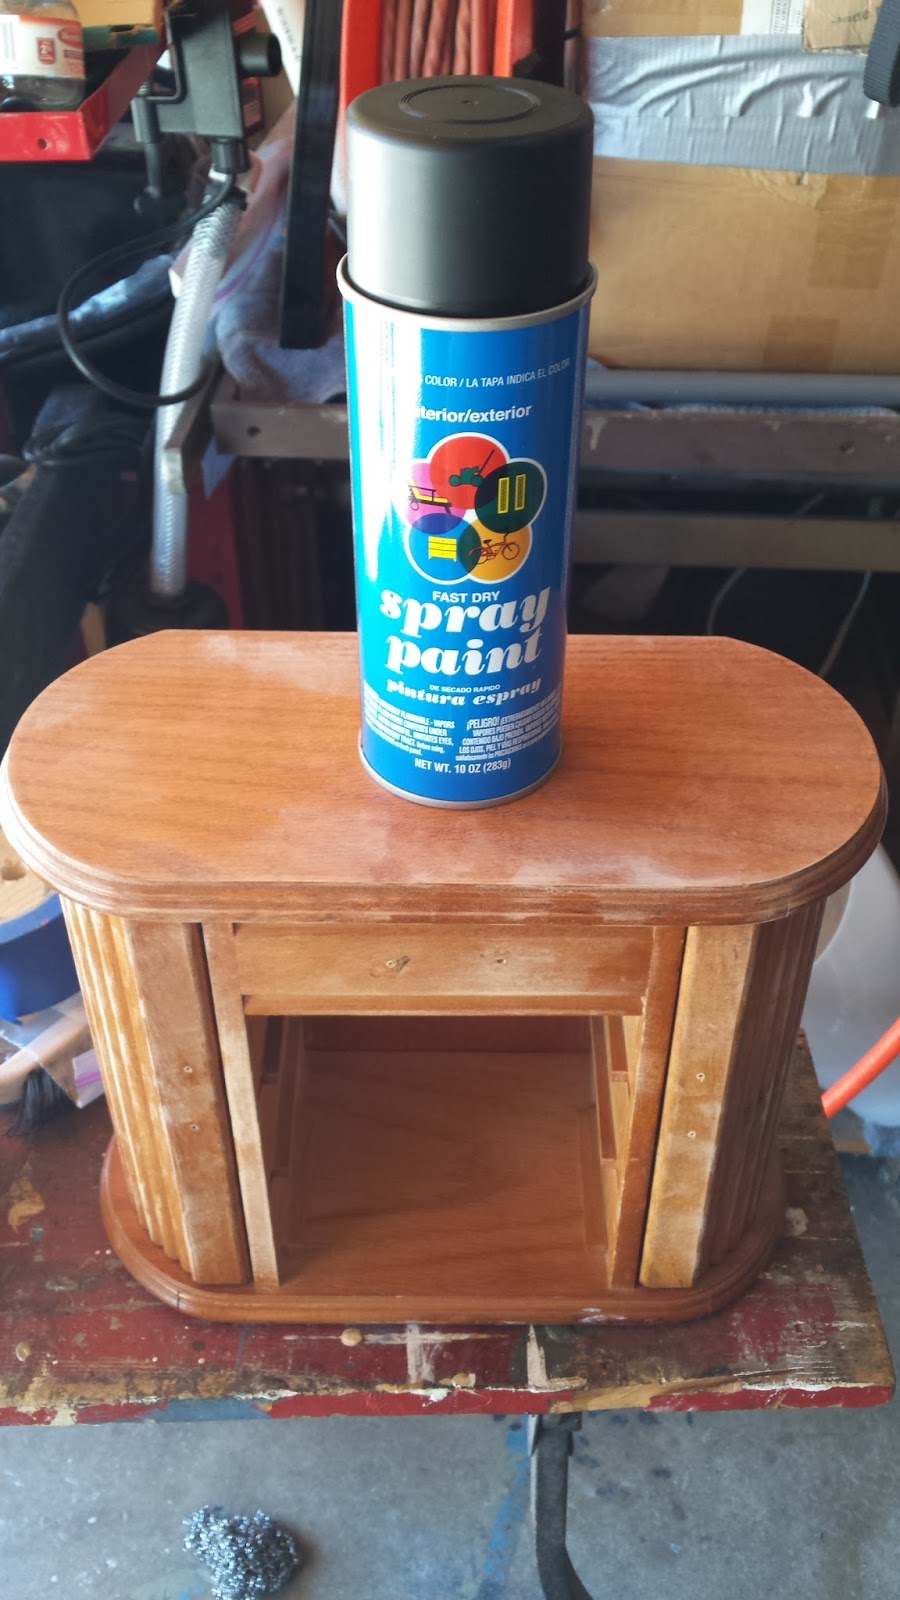
I knew right off the bat that I wasn't keeping the color and I didn't want to stain it, so what to do? Spray paint of course! After sanding it, I got out my trusty box of spray paints, picked my color scheme and started taping. I had to go pick up a can of black (.97 at Walmart) which thankfully covered the entire box even after a few extra coats. The taping was the most time consuming, because I didn't want any spray paint to get on the velvet lining of the drawers.


I ended up painting the hardware a nice silver color that I already had in my arsenal:

Oooo... Shiny :)
Here is the finished product! I was so tempted to keep it for myself, but knew that my little sister was in dire need of it :)

WHAT?!?!

Gorgeousness!!!


It turned out way better than I thought it would! Here are some close-ups of the drawers and paint job:


I am really glad that all that taping wasn't a waste... nice clean lines around the velvet and the shiny silver hardware against the matte black looks so elegant. Doing this project totally boosted my DIY self-esteem through the roof and I find myself looking at things in a whole new light. What projects have you taken on lately? Here is a last look! (My sis totally screamed when she saw it and still can't believe that I did this entire thing for only $6).

Happy Birthday Sis!!!