Sunday, August 2, 2015

Jewelry Box Transformation

A few weeks ago was my little sister's birthday and though she didn't technically ask for this for her birthday, I knew that she was in desperate need of it. She needed a jewelry box... and not just any jewelry box. She needed a grown-up version that could hold it's own on her makeup table and could replace the sad, pathetic version that she is currently using. Basically she had a little box that she got when she was about 12 years old and has long since out-lived it's usefulness and design. In comes this:


I found this gorgeous beast at our local swap meet a few months ago and knew that it would be perfect for her! I got this thing for only $5 so I was pretty stoked to get to work on it.


It was in decent shape; it was only missing two screws on the back hinge and needed a good dusting inside all the boxes, but thankfully all the velvet was in perfect condition and there were no serious dents or anything. My little insisted on helping with Auntie's present :) I started by removing all the hardware and it was going smoothly too, until the very last one snapped! Thankfully, this one belonged as a faux drawer pull and after a little super-glue, was right as rain. Then I took some sand paper and roughed up the lacquer a bit.


Before sanding

After sanding
I knew right off the bat that I wasn't keeping the color and I didn't want to stain it, so what to do? Spray paint of course! After sanding it, I got out my trusty box of spray paints, picked my color scheme and started taping. I had to go pick up a can of black (.97 at Walmart) which thankfully covered the entire box even after a few extra coats. The taping was the most time consuming, because I didn't want any spray paint to get on the velvet lining of the drawers.


I ended up painting the hardware a nice silver color that I already had in my arsenal:

Oooo... Shiny :)
Here is the finished product! I was so tempted to keep it for myself, but knew that my little sister was in dire need of it :)

WHAT?!?!

Gorgeousness!!!


It turned out way better than I thought it would! Here are some close-ups of the drawers and paint job:


I am really glad that all that taping wasn't a waste... nice clean lines around the velvet and the shiny silver hardware against the matte black looks so elegant. Doing this project totally boosted my DIY self-esteem through the roof and I find myself looking at things in a whole new light. What projects have you taken on lately? Here is a last look! (My sis totally screamed when she saw it and still can't believe that I did this entire thing for only $6).

Happy Birthday Sis!!!

Friday, July 17, 2015

Trash to Treasure Box

Hey everyone! Hope you are all having a great Friday :) I wanted to share a quick post with you about a great way to turn a piece of trash (almost literally) into a usable piece of furniture.


About a month or so ago, my dear Hubby helped his grandmother clean out some trash that had been piling up in her backyard. Mostly discarded or broken down furniture, trash and other assorted debris. Being the amazing man that he is, he saw some pieces in all the junk that he thought I would really like... and he was right! There were quite a few things that we pulled from the wreckage (future posts in the making) but the one I wanted to show you today is this old canning box from the early turn of the century (20th, not 21st).


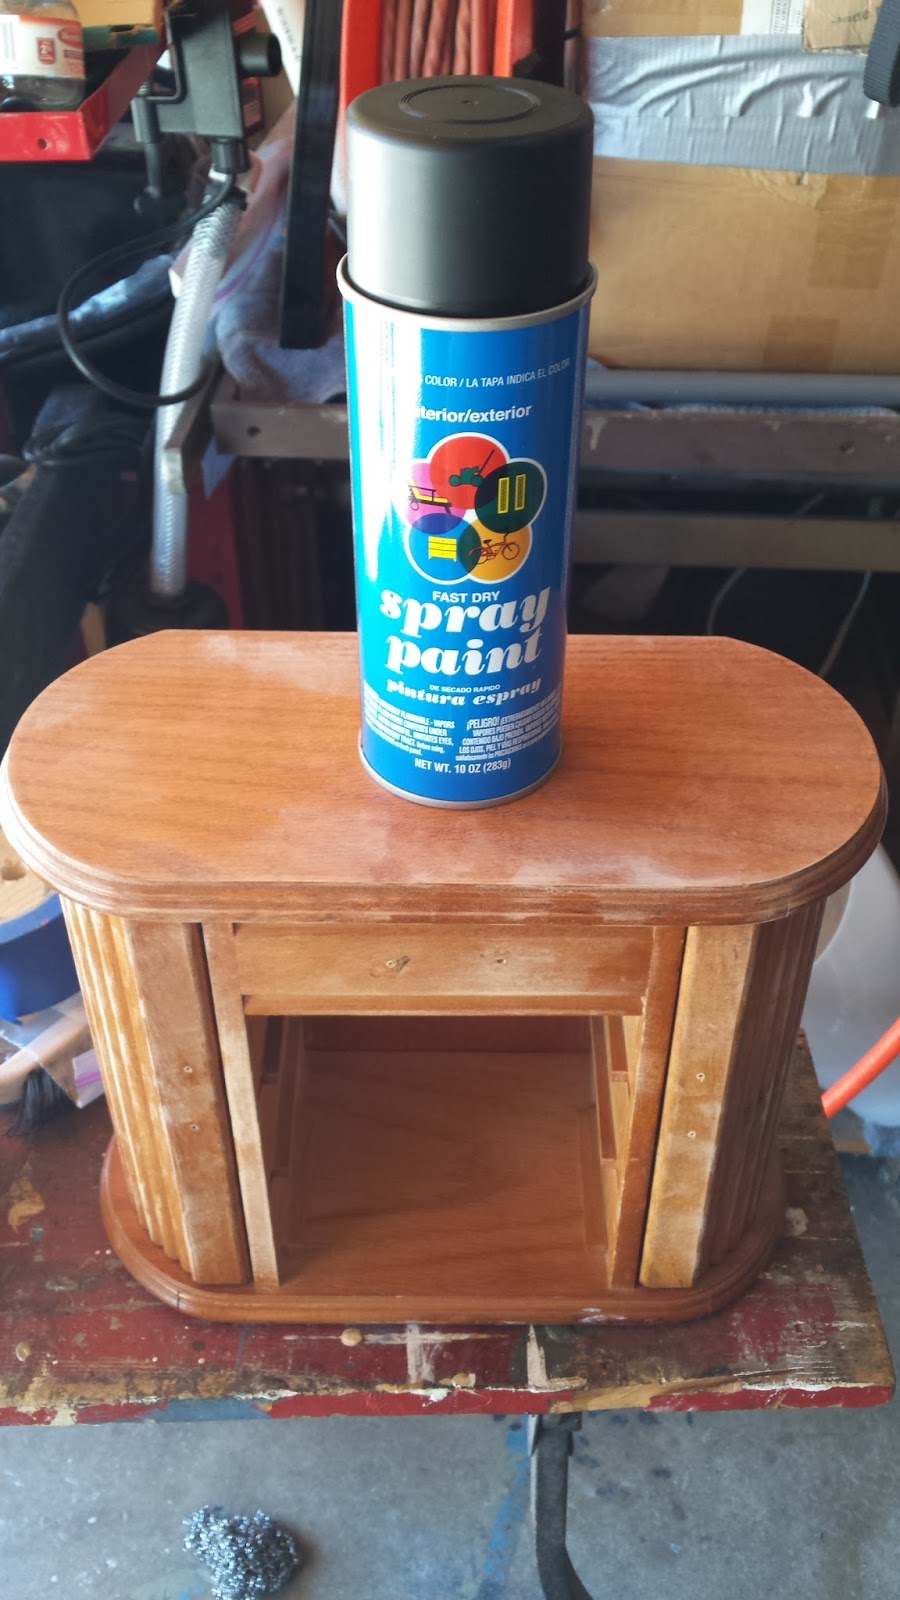
It was still in amazing condition with just a little bit of wood rot on the bottom (thank goodness it never rains in Cali). After some good fashion elbow work with the hand sander, it was ready to get a coat of varnish! My little even tried to help me out :)


I know the paint says interior even though it is a wooden box, but since I was using it inside, it seemed like a good idea. The only sad part about this whole project was that the pictures don't capture the true beauty that this box became. Here is a before and after:

Before

After
It is this beautiful dark (cherry?) wood color and is such a drastic change from what I originally started out with!!! Here are some more pictures:


So pretty!!! When I first started the project, I wasn't sure what I was going to use it for or even where I was going to put it at... bedroom? Living room? Should it hold extra blankets? Pillows maybe? And then, genius struck! I decided to put some small casters on it for mobility and also to keep the already slightly damaged bottom (wood rot) from getting damaged some more...


And wah la!!! A toy box for all my little's toys :) I may not always use it for this purpose, but for right now it stores everything she has in a beautiful container and it allows me to look at it every day:) Thanks for visiting!!!


Monday, July 6, 2015

Plant Stand Side Table

It seems like there is a never-ending stream of projects around my house right now. Today I want to share a quick update that I recently did to my side table. I originally had a regular brown table next to my bed and while it was really pretty, it didn't exactly offer the storage options I was looking for. So like most situations, I looked outside of the norm at furniture both around the house and outside the house. That's when I stumbled onto this plant stand that my mom was using.


My little helping me :)
 It was rusting away in the corner of her garden, so I asked her if I could use it. She said sure, but only if I replaced it with something else... done! (I put an old shelf unit in a different spot to hold her plants and to keep the shelf safe from other elements of nature). Here are some pictures of the metal shelf in it's somewhat decrepit state:


Thankfully the most this project required was some scrubbing with a wire brush and a good coat of white spray paint to make it new again.


I have since added a piece of leftover granite tile to the bottom wire shelf to make it look nice :) This night stand fits some much better in our cramped little room and holds everything I need while looking pretty and stream-lined at the same time! What is the most interesting piece of furniture you have found to use for something other than what it was intended? I would love some new ideas!

Saturday, June 27, 2015

Happy Signs

So I know that Mother's Day was like forever ago, but this craft was actually something that I came up with on my own (shocker, I know!) Since I don't have an original post to link this craft to, I will just give you some simple directions on how I did it and how you can do one too :)


For some people it is Target, for me it's Walmart. Sad to admit sometimes, but it's true. During the after Easter sale, I found this cardboard sign in the clearance aisle for on .25 each and couldn't really pass it up. I had originally planned to print out pictures of my mom and MIL with my daughter and me, but I didn't get a chance to do that (maybe I will try again someday). Instead, I found some scrapbook paper that I wasn't using and decided to use that.


This is where trial and error came into play: for the first sign I used Mod-Podge to glue the sign on first and then decided to paint it white afterwards (plus, I forgot to take pictures of the process). This made it kind of hard to avoid painting on the scrapbook paper. So on the second one, I cut out the whole outline of the sign FIRST, and then after I painted the top, bottom, back and inside of the letters, I applied the print.


I put two coats of white paint on it, but I am sure the possibilities are endless for how to decorate these signs. This is the end result of the first one I did:


They both turned out amazing! Even though I gave these as Mother's Day gifts, you can totally make them for any occasion and if done right, can stay up all year round :)

Wednesday, June 17, 2015

Shadowbox Time Capsule

Sorry I have been MIA the past few weeks... I got a full time job assignment with my temp agency and didn't manage to find time to do any crafting or blogging. Anyone who has driven in Southern California knows my pain :(

So the assignment ended and I am here to catch up on some of the crafts that I have left piling up. The one I want to show you today is really quick and simple, but it took a year to make. The idea is brought to you by a friend of mine, Justine at Little Dove Creations, who posted this a while back and I loved it so much that I had to try my hand at it!


It is a Shadowbox Time Capsule!!! How cute is this?!? I always collect all the ticket stubs, pamphlets, wristbands, and pictures from almost everything I go to with my family and what better way to show off those souviners than by putting them on display! Can you imagine a few years down the road, you can make a whole gallery wall with all the shadowboxes :) That's my plan anyways...

Creation

I took a stab at it and created my first one last year... I will definitely be doing some tweaking to the future layouts, and might even retroactively go back and do some for the previous years. Heaven knows I have tidbits lying around from things I did back then :) Thanks Justine for the awesome idea...everyone go check out her awesome blog! Have a Happy Hump Day!